Cheesy Loaded Nachos
Highlighted under: Home Comfort Classics
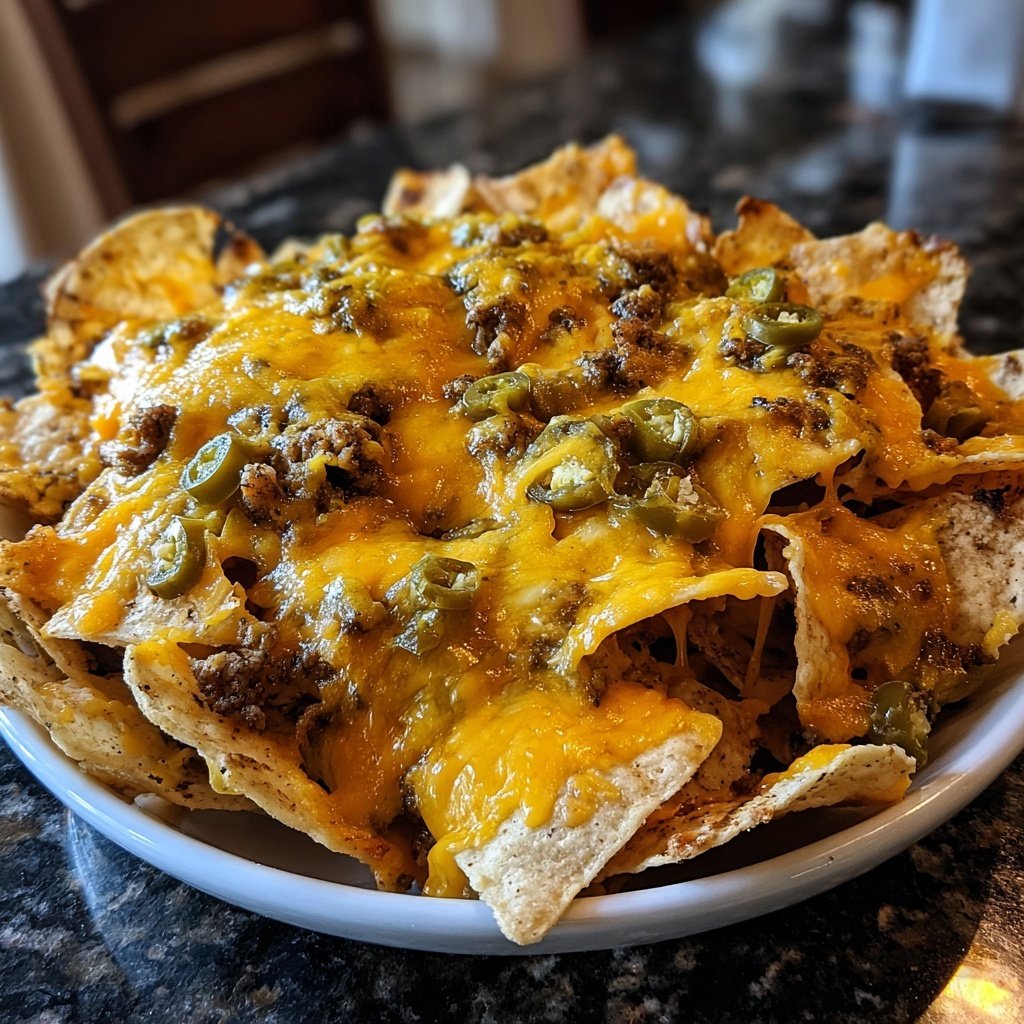
I absolutely love making Cheesy Loaded Nachos for a quick snack or as a party appetizer. The gooey, melted cheese paired with crispy tortilla chips is simply irresistible. I add an array of toppings like jalapeños, guacamole, and sour cream to elevate the flavors. This satisfying dish comes together in just 20 minutes, making it perfect for those spontaneous gatherings. Once you try them, you'll understand why they are a go-to in my kitchen for any occasion!
Creating these Cheesy Loaded Nachos has become one of my favorite culinary adventures. The first time I made them for friends, I couldn't believe how quickly they disappeared! I discovered that to get that perfect melty cheese, I like to mix different cheese varieties—sharp cheddar for flavor and Monterey Jack for that stringy pull. It’s a game-changer!
What makes these nachos truly special is the layer of toppings. I like to pre-cook the jalapeños briefly to enhance their flavor before scattering them on top. This little step adds a depth that turns a good nacho into a fantastic one!
Why You'll Love These Nachos
- Incredible layers of flavor from cheese and toppings
- Perfect for game day or movie night
- Quick and easy to prepare in just 20 minutes
Choosing the Right Tortilla Chips
The choice of tortilla chips can greatly impact the overall taste and texture of your Cheesy Loaded Nachos. I recommend using thick-cut tortilla chips to withstand the weight of the toppings without getting soggy. Look for chips labeled 'restaurant-style' for a sturdy base that retains crunch. If you prefer a flavor boost, consider corn tortilla chips with added spices or lime flavoring for extra zest.
If you’re watching your sodium intake or want to make a healthier version, opt for unsalted or lower-sodium tortilla chips. You can also try baked versions, which reduce fat and calories, allowing you to enjoy a guilt-free snack without sacrificing crunch.
Tips for Perfectly Melted Cheese
Achieving that gooey, perfectly melted cheese is crucial for the enjoyment of nachos. For the best results, mix different kinds of cheese; sharp cheddar brings bold flavor, while Monterey Jack offers creaminess. Shredding your own cheese from a block rather than using pre-shredded will help avoid the anti-caking agents that can prevent good melting.
When baking, keep an eye on the nachos—10 minutes is usually enough at 350°F, but every oven is different. Look for bubbly cheese that begins to pull away from the edges of the chips. If your cheese hasn’t fully melted after 10 minutes, consider increasing the oven temperature by 25°F and keep a close watch to avoid burning.
Serving and Storing Leftovers
Nachos are best served immediately after baking to maintain their crispy texture. If you're hosting a party, I often prepare the ingredients in advance and assemble them right before baking. Once baked, add the toppings like sour cream and guacamole just before serving to keep them fresh and vibrant.
If you have leftovers, store them in an airtight container in the fridge for up to two days. To reheat, spread the nachos on a baking sheet and pop them in a preheated oven at 350°F for about 5–7 minutes. This will help restore some crispiness, but keep in mind that some toppings may not hold up well after reheating.
Ingredients
Gather these ingredients for a delightful nacho experience!
Ingredients
- 1 bag of tortilla chips
- 2 cups shredded sharp cheddar cheese
- 1 cup shredded Monterey Jack cheese
- 1 can (15 oz) black beans, rinsed and drained
- 1 jalapeño, sliced
- 1 cup diced tomatoes
- ½ cup sour cream
- ½ cup guacamole
- 2 tablespoons chopped fresh cilantro
- Salt and pepper to taste
Enjoy your loaded nachos with a refreshing drink!
Instructions
Follow these simple steps to create your nachos:
Preheat and Prepare
Preheat your oven to 350°F (175°C). Spread tortilla chips in an even layer on a baking sheet.
Layer the Cheese and Toppings
Evenly sprinkle shredded cheddar and Monterey Jack cheese over the tortilla chips. Add black beans, sliced jalapeños, and diced tomatoes on top.
Bake the Nachos
Bake in the oven for about 10 minutes, or until the cheese is fully melted and bubbling.
Serve with Toppings
Remove the nachos from the oven and drizzle sour cream and guacamole on top. Garnish with chopped cilantro and serve immediately.
Enjoy your warm and cheesy nachos right away!

Pro Tips
- For extra flavor, try adding cooked ground beef or shredded chicken as additional toppings.
Ingredient Variations
While the classic version of Cheesy Loaded Nachos is fantastic, don’t hesitate to customize based on your preferences. You can swap black beans for pinto or even refried beans for a different texture. Additionally, if you’re looking for a meatier option, shredded chicken or ground beef can be incredible additions, providing protein and heartiness to the dish.
For a vegetarian twist, consider adding grilled veggies like bell peppers and zucchini. These not only add color but also contribute to a more complex flavor profile. You can also make it spicy by using different types of peppers or by adding a layer of spicy salsa before baking.
Serving Suggestions
When serving Cheesy Loaded Nachos, pair them with a refreshing cold drink. A zesty margarita or a crisp lager complements the richness of the cheese nicely. If you’re aiming for non-alcoholic options, consider homemade limeade or a citrus-infused sparkling water for a burst of flavor.
Feel free to turn your nachos into a meal by adding a side such as a simple green salad with a light dressing. This balance of flavors can elevate your nacho experience and provide a nice contrast to the richness of the cheese and toppings.
Questions About Recipes
→ Can I use different types of cheese?
Absolutely! Feel free to mix and match your favorite cheeses for different flavors.
→ How can I make these nachos healthier?
Use baked tortilla chips, add more vegetables, and opt for low-fat cheese.
→ What are some good toppings?
You can add sliced olives, fresh green onions, diced bell peppers, or even corn for variety.
→ Can I prepare nachos in advance?
While the chips are best served fresh, you can prep the toppings in advance and layer them right before baking.
Cheesy Loaded Nachos
Created by: Piper Andrews
Recipe Type: Home Comfort Classics
Skill Level: Easy
Final Quantity: 4 servings
What You'll Need
Ingredients
- 1 bag of tortilla chips
- 2 cups shredded sharp cheddar cheese
- 1 cup shredded Monterey Jack cheese
- 1 can (15 oz) black beans, rinsed and drained
- 1 jalapeño, sliced
- 1 cup diced tomatoes
- ½ cup sour cream
- ½ cup guacamole
- 2 tablespoons chopped fresh cilantro
- Salt and pepper to taste
How-To Steps
Preheat your oven to 350°F (175°C). Spread tortilla chips in an even layer on a baking sheet.
Evenly sprinkle shredded cheddar and Monterey Jack cheese over the tortilla chips. Add black beans, sliced jalapeños, and diced tomatoes on top.
Bake in the oven for about 10 minutes, or until the cheese is fully melted and bubbling.
Remove the nachos from the oven and drizzle sour cream and guacamole on top. Garnish with chopped cilantro and serve immediately.
Extra Tips
- For extra flavor, try adding cooked ground beef or shredded chicken as additional toppings.
Nutritional Breakdown (Per Serving)
- Calories: 400 kcal
- Total Fat: 22g
- Saturated Fat: 12g
- Cholesterol: 60mg
- Sodium: 650mg
- Total Carbohydrates: 36g
- Dietary Fiber: 5g
- Sugars: 3g
- Protein: 15g